


Hello, Hola, Namaste 👋
I am working towards becoming a front end developer and firebase is helping me focus on the front end part and not worry about the complex back end settings.
In this post, we will learn about how to integrate the realtime database that Firebase offers with React web app. But first things first:
What is firebase
Firebase is a Google acquired BAAS(Backend as a service) platform that offers multiple products to configure the server side part of your application without much coding. It offer products like built in authentication system, file storage, hosting, realtime database and much more.
Wait, hold on! What's Realtime database? It’s a simple database, right? Yeah, Right.
What is realtime database
As the name suggests, Realtime database syncs the data across in real time.
With the traditional databases, you’d need an HTTP request to update the changes but Realtime database doesn’t entertain HTTP request. Instead, it uses the Web Socket API to connect to the app. All your data on both the ends will be in sync through this single socket connection.
Having understood the basics, let’s start the integration:
Step 1: Create a new account at Firebase or login to your existing account and navigate to the console.
Once inside the console, the panel to the left of the screen will list all the products that firebase offers for back end integration. For the sake of this article, we would only be focussing on Realtime database tab.
Step 2: Create a new project.
Step 3: Once the new project is created, Click on Realtime database and create a new database for the newly created project.
Step 4: Go to the rules tab of database and set the rules as below and publish.
{
  "rules": {
    ".read": true,
    ".write": true
  }
}
This is not a recommended setting as setting the read and write permission to true would give anyone the rights to read and write data to your database. You can modify the settings later on when you have a better understanding of the database and how to effectively use it to your advantage. For now setting it to true would serve the purpose of this article.
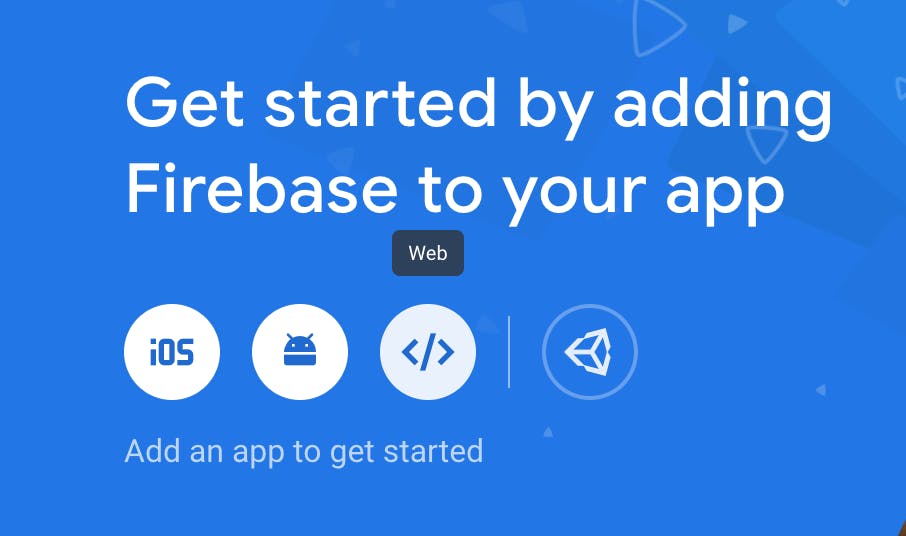
Step 5: Go to the project homepage again and add firebase to your web app. Add a name to your app and hit continue. You will be presented with a screen with a JavaScript snippet. Copy the below looking code from it:
import firebase from 'firebase'

// Your web app's Firebase configuration
  const firebaseConfig = {
    apiKey: "your api key",
    authDomain: "your-app.firebaseapp.com",
    databaseURL: "https://your-app-app-default-rtdb.firebaseio.com",
    projectId: "your-app-app",
    storageBucket: "your-app-app.appspot.com",
    messagingSenderId: "123456789875",
    appId: "6:4565645645:sd34534dfg45654gfrt",
    measurementId: "G-SG45G5GDF"
  };
  // Initialize Firebase
  firebase.initializeApp(firebaseConfig);

export default firebase
firebaseConfig is a configuration object which hold information about your firebase project.
Before we start using firebase in our react app, we need to initialize firebase so we can use all the cool features that it has to offer. And that's what the last line of the code does.
Step 6: Open the terminal and install firebase using either npm or yarn
npm install --save firebase
yarn add firebase
Step 7: Now, go to your code editor, open the React project where you want Firebase integrate and create a new file firebase.js. You can name it anything you want. Paste the code copied from step 6.
And with that we have successfully integrated Firebase with React. But wait, we are not done yet. It is time to test if it is really working :P
For simplicity sake, let's work on the index.js file which usually is the entry point for react apps. First step is importing firebase from the firebase.js file.
import firebase from '<relative path of firebase.js file>'
Now let write something to the database:
firebase.database().ref().set({
title:"Learn to integrate Firebase with React"
})
Don't about the syntax and the methods that I have used in the above example.We will go over them in the next part of this series. Focus on what is going inside the set method. I have passed an object to the set method of database. This will write an object with title key to the root of the database.
Now save the file, run the app and go to the database inside of firebase console and you will see a snapshot similar to this:

Yayyy!!! We have successfully connected the two systems. In the next article, I will talk about the most important methods that we can use to do the CRUD operations.
While I get on with the next article, how about you guys show some love? How? If this article helped you in any way, share this article and help other devs benefit from it, at-least I hope so. :). If you are an active on twitter, we can chit chat there.You can find me here.
Until next time!